
The practical starting settings
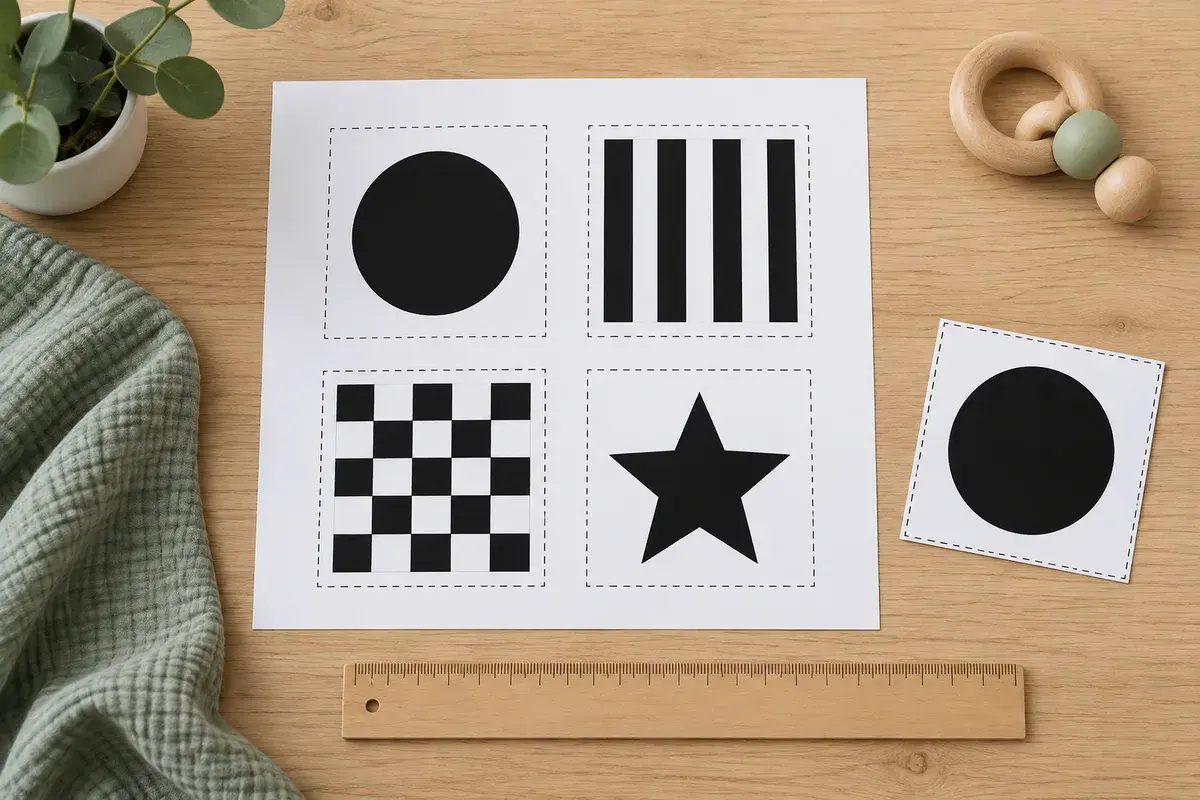
For a simple home setup, choose A4 paper, keep the artwork at 100% or actual size, and begin with one test page. If the original artwork is square, 10 × 10 cm cards are easy to arrange four-up on A4. If you want a larger card, two 12 × 12 cm cards can usually fit on one page with comfortable margins.
The exact result depends on your printer’s non-printable margins. Treat the first page as a measurement check, not as wasted paper. Once you know how your printer behaves, you can print the rest of the set with fewer surprises.
- Paper: A4, 210 × 297 mm.
- Scale: actual size or 100% when size matters.
- First run: one test page before batch printing.
- Finish: smooth edges and rounded corners before use.
Choose a card size that is easy to use
A4 is the sheet size, not necessarily the finished card size. A full A4 page can work as a large visual panel held by an adult, but smaller cards are easier to sort, store, and show one at a time. A6 is roughly one quarter of an A4 sheet at about 105 × 148 mm. A 10 × 10 cm square is often a comfortable compromise when the source artwork is square.
Twelve-centimeter square cards give a larger pattern but use more of the page. Do not squeeze four large squares onto A4 if doing so makes the artwork tiny or removes the cutting margin. Preserve the original aspect ratio: a circle stretched into an oval is a sign that the file was forced into the wrong layout.
- Use 10 × 10 cm for a compact four-card test set.
- Use about 12 × 12 cm when you want a larger pattern and fewer cards per page.
- Use A6 when the source PDF is already designed for quarter-page cards.
- Leave a white border when the printer cannot print to the edge.
FREE PRINTABLE RESOURCE
Start with a small test set
Choose a few simple high-contrast patterns from the free card library, print one test page, and adjust your settings before making a full set.
Check the print dialog before pressing print
Set the paper size to A4 rather than relying on the printer’s default. For a PDF with a defined layout, choose “Actual size” or 100% if you want the printed dimensions to match the file. “Fit to page” can be useful when a printer would otherwise cut off the edges, but it may make every card slightly smaller.
For image files, check the preview for unexpected cropping, rotation, stretching, headers, or footers. If the card is supposed to be square, measure the first printed card. A page that looks correct on screen can still change when the printer applies its own margins.
- Confirm A4 and the correct portrait or landscape orientation.
- Turn off automatic enlargement or reduction when exact size matters.
- Avoid low-ink or economy mode for the final black areas.
- Let ink dry before stacking printed pages.
Pick paper for the job, not for appearance alone
Ordinary white printer paper is useful for the first test and for short-term adult-held use. It is inexpensive and easy to cut, but it bends and tears more quickly. If your printer supports it, a matte cardstock can make the card easier to hold and store, but the printer’s approved paper thickness matters more than a generic paper-weight number.
Glossy paper can create bright reflections under a lamp or window. A matte surface is usually easier to look at. Lamination is optional, not a safety requirement; if a laminate edge lifts, cracks, or creates a sharp flap, discard the card rather than trying to keep it in rotation.
Cut straight, round the corners, and inspect the edges
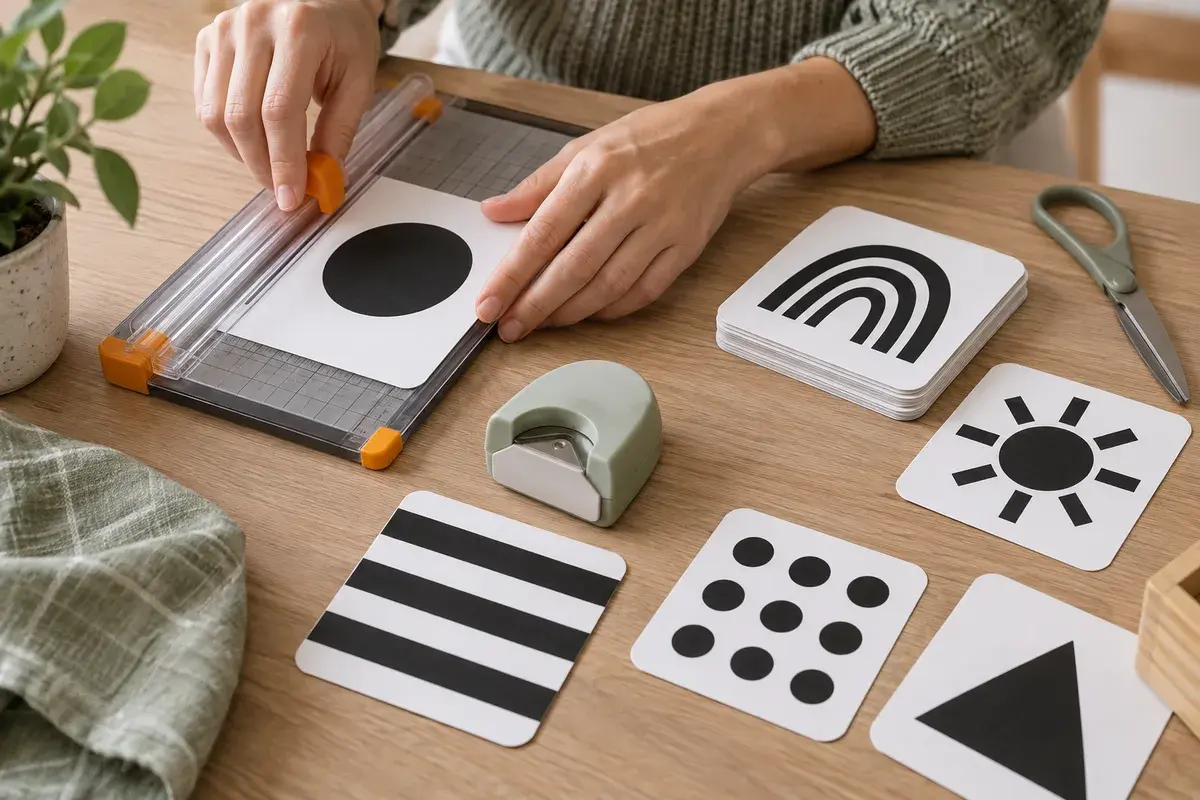
After the ink is dry, cut the large page into sections and then trim each card to the same size. A paper trimmer can make straight edges more consistent. A corner-rounding tool or careful scissors can remove the sharp points. You do not need a precise radius; the aim is to eliminate pointed corners and rough paper spikes.
Use the finished card as a template for the next one. Run a finger gently around each edge and look for tears, paper flakes, loose film, staples, tape ends, or other pieces that could detach. Keep cutting tools on a stable table and away from the baby.
- Cut the straight edges before shaping the corners.
- Keep a small white border if it protects the artwork from the blade.
- Discard a card with a torn edge rather than patching it with loose tape.
- Clean up paper scraps before the baby comes into the area.
Store cards as activity materials, not sleep products
A finished paper card still needs adult supervision. Keep the set in a lidded box, drawer, or closed file where the baby cannot reach it. Store scissors, trimmers, corner rounders, spare blades, clips, and scraps separately. Take out only the few cards you plan to use.
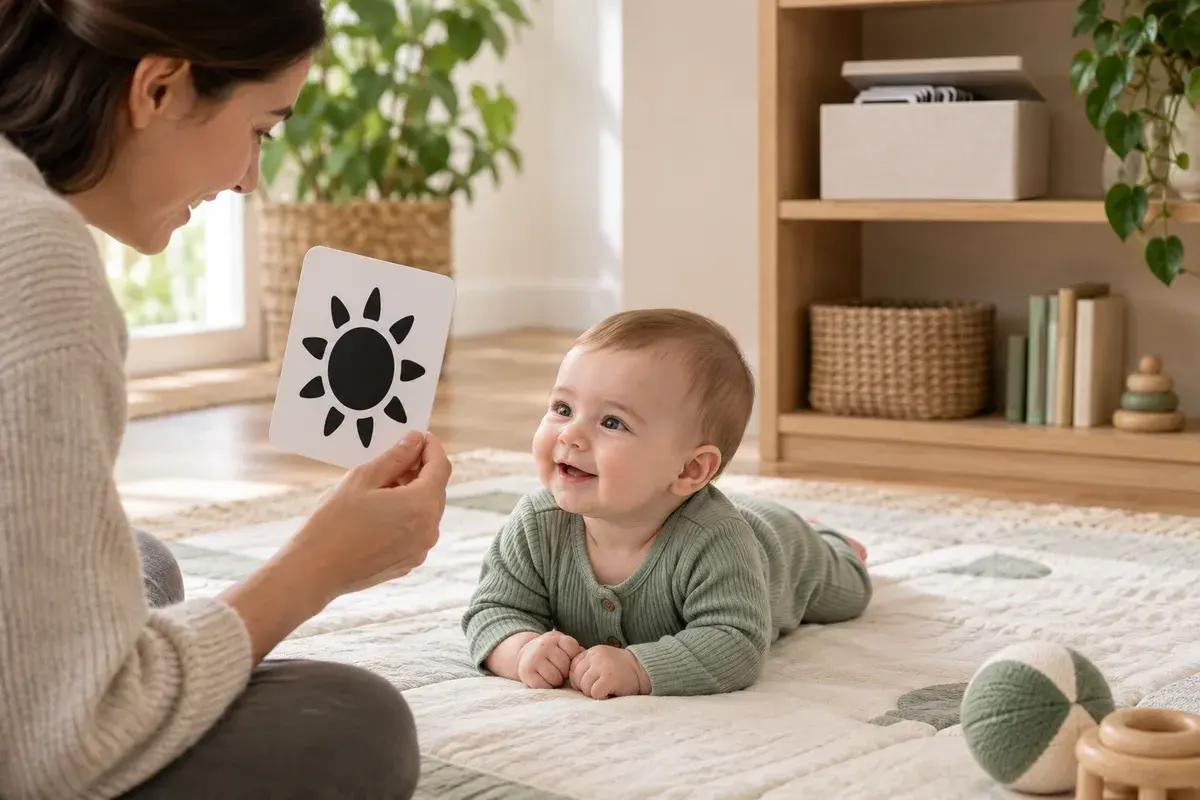
Use the cards during awake play, with an adult holding the card. Do not hang a paper card over a crib, place it in a bassinet, or leave a card stand in a sleep area. CDC safe-sleep guidance recommends a firm, flat sleep surface and a clear sleep space; a printable card belongs in a supervised activity, not beside a sleeping baby.
- Keep the storage box out of reach.
- Use one card at a time when possible.
- Take the card away if the baby grabs, tears, or mouths it.
- Replace cards with worn edges, loose laminate, or paper flakes.
Make one test page before a full set
Print one page with the pattern you plan to use most. Let it dry, measure the card, and inspect the black areas, lines, margins, and corners. Place the card where you will actually use it and see whether it is easy for an adult to hold without blocking the pattern.
If the card is smaller than expected, check the scale and paper settings before changing the artwork. If the page is clipped, increase the white border or use the printer’s fit-to-printable-area option and record the new approximate size. Once the test works, duplicate that layout for the other themes.
- Measure width and height after printing.
- Check that circles remain circles and lines remain clear.
- Confirm that no card is cut through the main artwork.
- Record the settings that worked for your printer.
QUICK ANSWERS
Questions new dads ask
Can I print baby cards on ordinary paper?
Yes. Ordinary white paper is a good way to test size and layout. It is less durable than cardstock, so keep it adult-held and replace it when the paper tears, flakes, or develops sharp edges.
What is the best size for a printable newborn card?
There is no required size. For square artwork, about 10 × 10 cm is easy to print four-up on A4, while about 12 × 12 cm gives a larger pattern with fewer cards per page.
Should I laminate high-contrast baby cards?
Lamination is optional. If you use it, inspect the sealed edges every time and discard any card with lifting film, sharp flaps, or damage. Lamination does not make a card suitable for unsupervised chewing.
SOURCES
Read the primary guidance
Health and safety notes are summaries for general education. Follow your own care team’s advice.
Edited by the newdadatlas editorial desk. We write for general education and link to primary guidance; when a question is personal, urgent, or medical, contact a qualified professional.